How to Upgrade Your Windows License: A Step-by-Step Guide
Introduction:
Upgrading your Windows license can unlock new features, provide better security, and improve your overall computing experience.
Whether you're looking to switch from Windows Home to Pro, or upgrade to the latest version, this guide will walk you through the process.
Steps to Upgrade Your Windows License Check Current License:
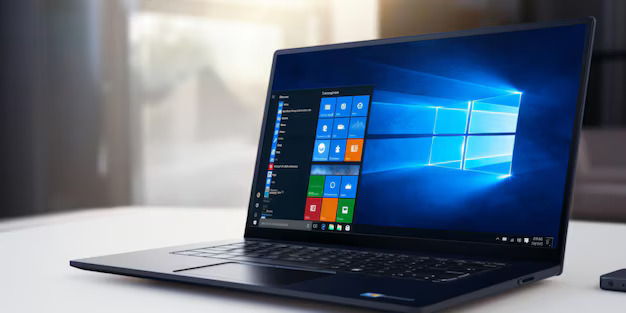
Before upgrading, determine which Windows version you are currently using.
Go to Settings > System > About to find your version information.
Purchase a New License:
Visit the Microsoft Store or an authorized retailer to purchase the new Windows license you need. You will receive a product key that will be used during the upgrade process.
Backup Your Data:
It's always a good idea to backup your important files before making significant changes to your system. Use an external hard drive or cloud storage service.
Enter the New Product Key:
Navigate to Settings > Update & Security > Activation. Click on Change product key and enter the new product key you received.
Follow the Upgrade Prompts:
Windows will guide you through the upgrade process. Follow the on-screen instructions to complete the upgrade.
Verify the Upgrade:
Once the upgrade is complete, go back to Settings > System > About to ensure that the new version is installed and activated.
Conclusion
Upgrading your Windows license is a straightforward process that can significantly enhance your computing experience. By following these steps, you can unlock new features and ensure your system remains secure and up-to-date.
Copyright ©2026 Microsoft. All Rights Reserved